
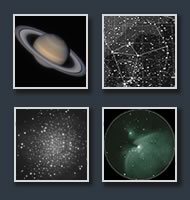
Home-made Portable Power Supply for DSLR
A known issue with Canon DSLR cameras (or many others for this matter) is a lack of external power supply socket. Most astrophotographers need an option to plug their camera into a 12v power bank, and stop worrying about charging and replacing the batteries all the time. There are commercially available solutions - for example from "Astronomiser". However they are quite costly (about 70$) and also look pretty much "home-made". Another option is using an AC adapter and an inverter, but that is highly inefficient.
Portable DIY power supply for Canon EOS DSLR
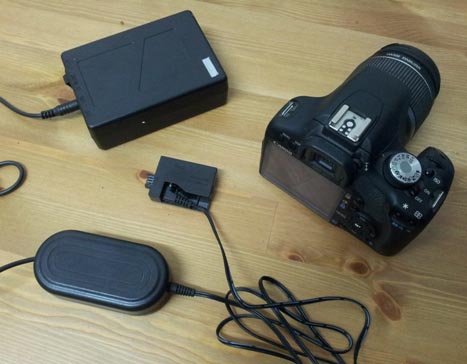
I found out that you can assemble such adapter at home for about 20$ using a few items which are quite cheaply available on Ebay. The final result may actually look better than some of these commercially available adapters, it only takes half an hour to make and doesn't require knowledge in electronics at all. What we need is:
- AC adapter for Canon DSLR (12-15$). A cheapest one will do the trick, since its electronics is thrown away (unless you want to keep the AC option, and only utilize the battery adaptor).
- A step-down (or a buck-boost) DC to DC converter, capable of producing at least 2 Amperes(3-10$).
- A connector for your power source. It may be a simple 12v cigarette light plug, or a standard 2.1mm plug which you can connect to a Li-Ion 12V high capacity battery. Such batteries are available for 20-30$ and can supply your camera for as much as 24 hours of continuous shooting.
Canon external power supply components
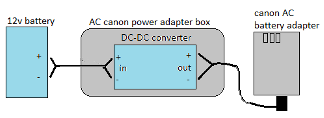
The assembly procedure is quite simple. First open up the AC adapter case, take out the circuit board, cut the cable with is connected to it (remember to mark on the cable + and - polarity before you cut). Connect this cable you your DC-DC converter output (at correct polarity). Then connect DC-DC converter's input to a 12 V power source, turn it on, and adjust its output voltage to a value with is written on your DSLR's battery (in case of Canon 500D it is 7.5V) by turning a potentiometer screw. I used a model with display which allows voltage and current monitoring. If you don't have a display - use a voltmeter. You might want to test the output slots of black battery adaptor to ensure the camera will receive a correct polarity.
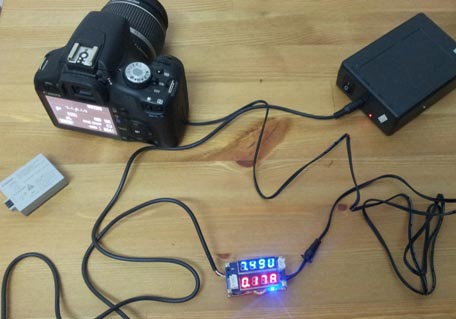
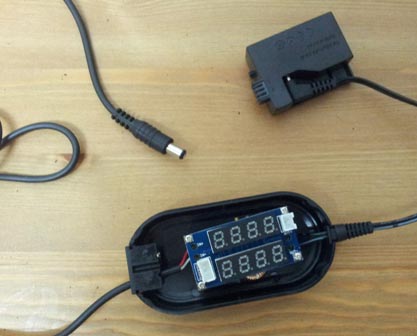
Power supply turned on - note the DC-DC readings: 7.49V, 0.17A
After everything is tested - insert the DC-DC converter into empty AC adapter case and close it. A screw shaft may need to be cut out, since it gets in the way. To firmly attach the cable at DC-DC input side - you may use a plastic AC connector from the circuit board, with a round hole cut in it.
Enclosing the DC-DC converter
These are some Ebay and Amazon searches which may help you to source the parts: